Google Photos is one of the most popular cloud-based platforms for storing, organizing, and sharing photos and videos. While it’s a reliable backup solution, you may want to download your entire library for various reasons: creating a local backup, transitioning to a new platform, or simply ensuring easy offline access to your cherished memories.
This guide will walk you through the process of Download all your Photos from Google Photos using Google Takeout, a convenient tool for exporting data from Google services.
How to Download All Your Photos from Google Photos
Google Takeout is a user-friendly tool provided by Google that allows you to export and download your data from various Google services, including Google Photos. Whether you’re looking to back up your cherished memories, switch to another platform, or simply maintain offline access to your photos, Google Takeout makes the process simple and efficient. With just a few steps, you can request an export of your entire photo library, customize the export format, and securely download your files.
Here’s a step-by-step guide to use Google Takeout to export Google Photos:
Step 1: Visit the Google Takeout website
- Open your web browser go to takeout.google.com and log in with your Google account.
- Click the Deselect all button at the top to uncheck all Google services.

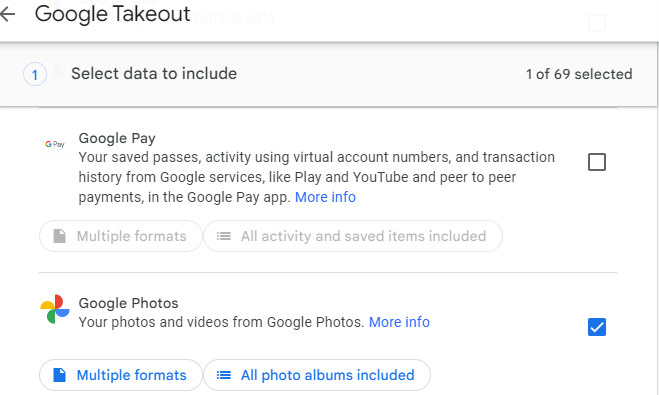
Step 2: Select Google Photos
- Scroll down the list of services and find Google Photos.
- Check the box next to it to include your photos in the export.
- Click All photo albums included to choose specific albums if you don’t want to download everything. Uncheck any albums you want to exclude.
Step 3: Customize Google Takeout Export Settings
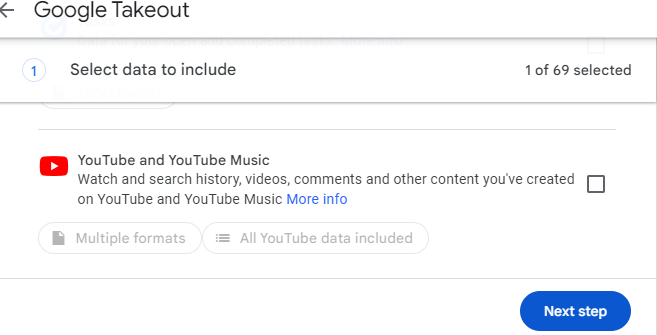
- Scroll to the bottom of the page and click Next step.

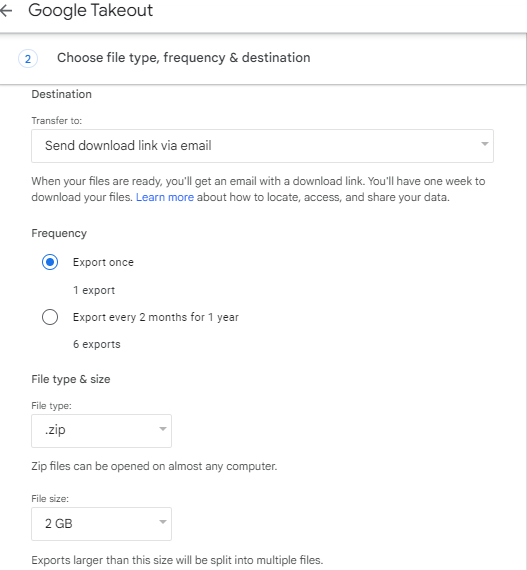
- Adjust the following settings:
- Delivery Method: Choose to receive a download link via email or save the export directly to Google Drive, Dropbox, OneDrive, or Box.
- Frequency: By default, the export runs once. You can also schedule recurring exports every two months for a year.
- File Type: Select ZIP (commonly used) or TGZ format.
- File Size: Choose between 1GB and 50GB per file. If your data exceeds the size limit, it will be split into multiple files.
Step 4: Create the Export
- Click Create export (or Link accounts and create export, depending on the delivery method).
- If using a third-party cloud storage service, you’ll need to connect your Google account.

Step 5: Downloading Your Exported Photos from Google Photos
Once you’ve initiated the export, you’ll need to wait for Google to prepare your files. The process can take a few hours to a few days, depending on the size of your library.
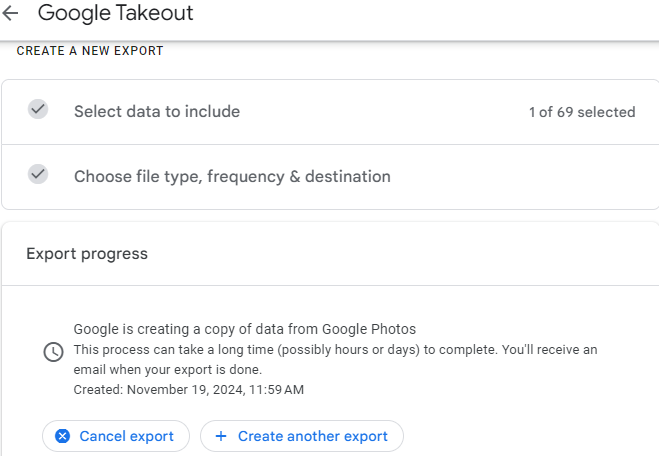
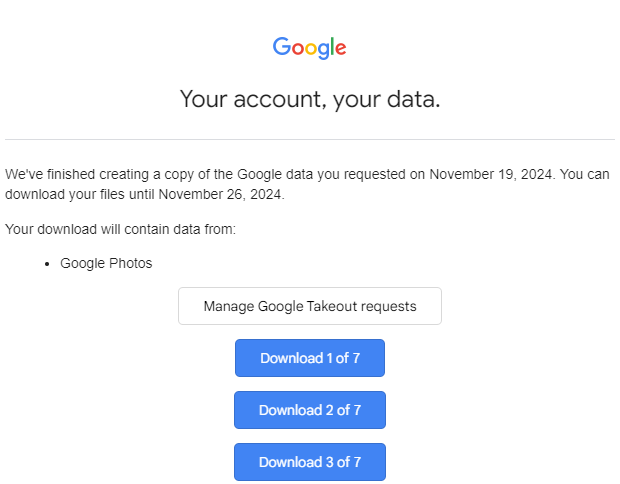
- Notification: You’ll receive an email when the export is ready.
- Accessing Your Files:
- If you selected the Send download link via email, click the link in the email to download your files. The link remains active for one week.
- If you chose a cloud storage option, log in to the service and locate the uploaded file.
Wrapping Up: Downloading all Google Photos
Downloading all your photos from Google Photos is a straightforward process with Google Takeout. By following this guide, you can easily create a backup of your treasured memories, ensuring they’re safe and accessible whenever you need them. Whether it’s for peace of mind, storage management, or a platform migration, this is a task worth completing.
Have any tips or questions about using Google Photos? Share them in the comments below!