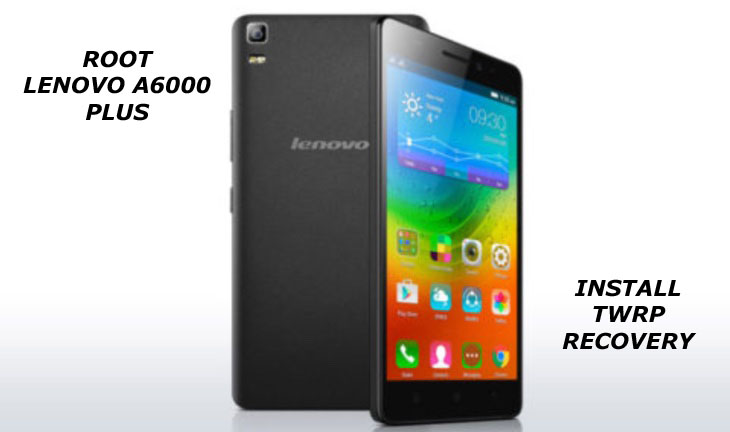
Lenovo A6000 Plus is an upgraded version of A6000 with 2Gb ram and 16GB internal memory. Lenovo A6000 Plus is a great value for money device with decent specifications.The phone packs a 1.2GHz 64-bit Snapdragon 410 processor also it has an 8MP rear and a 2MP front camera with a 5 inch HD display and 2,300mAh battery. The phone has dual SIM support with 4G connectivity. If you own Lenovo A6000 or A6000 plus and want to root this guide will help you. Today we discuss step by step guide of how to root and install custom recovery on Lenovo A6000 plus and A6000.
Once you root and install custom recovery on Lenovo A6000 plus you will be able to remove bloatware(pre-installed apps), Increase battery life by automatically killing background apps, and also Upgrade your phone to a newer version of Android by flashing custom ROM. These are some benefits of rooting now proceed to root and install custom recovery on Lenovo A6000 plus, but first you need to download some files. Files required to Root and install custom recovery on Lenovo A6000 plus –
1) Download ADB and fastboot driver by Xda member @Snoop05 and install it on your PC. This will also install your device driver.
2) Download and install Universal ADB driver for Lenovo if above doesn’t work.
3) Download TWRP Recovery for Lenovo A6000 plus and place it in the folder where ADB installed and rename it to ‘recovery.img’.
4) Download SuperSu to root Lenovo A6000 plus and copy it to your phone sd card.
Note:-
- Rooting may void your phone warranty, and you won’t claim it back.
- Follow the steps correctly otherwise you may brick your device. We are not responsible for any damage of your phone.
- It may or may not erase all your personal data including data of internal storage, so we advise you first to take a complete backup of your phone and then proceed.
- If you only want root access you can try How to root Lenovo A6000 plus without Pc
Root and install custom recovery on Lenovo A6000 plus –
1) Ensure that your phone has at least 50-60% charged to prevent accidental shutdown between the process.
2) Now enable USB debugging from setting>developer option>. To enable Developer Options, go to About phone and tap the Build Number 7 times.

3) Now go to installation directory open ADB folder and open the command window there by pressing and hold the ‘shift’ key and right-clicked anywhere in that folder.

4) Now connect your phone to PC and reboot the device into fastboot mode by typing “adb reboot bootloader”.
5) In command prompt type “fastboot devices” and hit enter, it gives you serial numbers in return means your phone connect properly otherwise check the device driver again.

6) Type this command correctly in command prompt without quotes “fastboot flash recovery recovery.img” and then press enter. It starts flashing recovery on your phone.

7) Now type ‘fastboot boot recovery.img’ in command prompt it will reboot your phone into recovery mode.Now you successfully installed custom recovery on Lenovo A6000 plus.

8) You are in recovery mode now or press “Volume UP+Down+Power Button” to enter into recovery mode.
9) In TWRP recovery navigate to Install Zip and select ‘SuperSu.zip’.
10) Swipe to install SuperSu and reboot your device. That’s it, you root and install custom recovery on Lenovo A6000 plus successfully.
So this is the complete guide of how to root and install custom recovery on Lenovo A6000 plus with easy steps. To verify root access, just download root checker from Google Play store and confirm if your device has gained root access. If you have any questions, then comment below.
4 Comments
im facing dtb not found prob and i cant open twrp recovery..help me!
Post update with new recovery…now its working fine.
i have the same problem like dinesh
rebooting taking lot of time